Posted on

Adafruit Huzzah ESP8266 Breakout


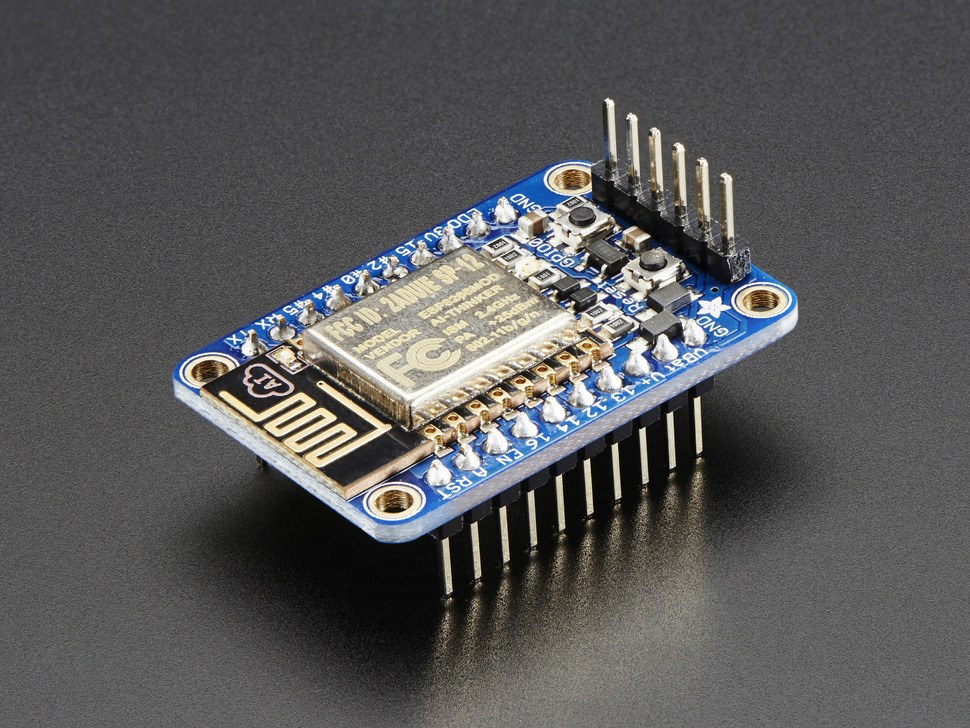
Today I got the chance to play around with the Adafruit Huzzah ESP8266 Breakout Board I got with my last order.

Getting things connected and functional is always the first step, so I tend to choose the easiest method available to me, whether I will ever choose to use that method or not.  This post is an example of that, and the reasoning behind it.

I’m not going to go over the ESP8266 as it’s already been done numerous times.  Here’s Adafruit’s Learn module for the Huzzah ESP8266.  It’ll walk you through what the module is, to assembling it, to getting it connected.


Getting Connected

So, easiest method available for testing this module is a direct connection to a PC via an FTDI Serial TTL-232 USB Cable (pictured below).

70-03

Here is is connected to the breakout.  No other connections are required.  It’s in the breadboard simply to hold it in place.  Keep in mind the corresponding pins will be live… meaning, USB is supplying power, ground and TX / RX signals that are broken out to other pins.  If you set the pins on something conductive, you could damage the board.  Hence why I put it in a breadboard.  Besides, we’ll need it in a breadboard for testing it out later!

esp8266-02


Continue reading Adafruit Huzzah ESP8266 Breakout

Posted on 4 Comments

Adafruit RA8875 TFT Driver Board

I ordered in a 5″ TFT LCD with resistive touch screen, along with Adafuit’s RA8875 Driver Board for 40-pin TFT Touch Displays.  These are just some notes and comments of my experience in getting it all working.

Making the connections.

First thing to make clear is that the driver board from Adafruit DOES have level shifting on it, and can be connected to both 3.3V and 5V systems.  Let me also be clear that although it will work with a mixture of voltage signals (as I found out), you should PICK ONE.

Connections:

  • Vin: +3.3V (** OR +5V)
  • GND: GND
  • 3Vo: NC (** 3.3V out from the on-board regulator)
  • Lite: NC (** Can be used to turn backlight off)
  • SCK: SPI SCK
  • MISO: SPI MISO (** MISO is NOT tri-stated and cannot be used with other SPI devices without 74HC125 or similar)
  • MOSI: SPI MOSI
  • CS: SPI CS
  • RST: Active Low – connect to any available MCU pin
  • WAIT: Active Low – connect to any available MCU pin
  • INT: Active Low – connect to any available MCU pin (** or INT pin if you want to use interrupts)
  • Y+: NC (** Optional, external touch screen controller)
  • Y-:NC (** Optional, external touch screen controller)
  • X+:NC (** Optional, external touch screen controller)
  • Y-:NC (** Optional, external touch screen controller)

Here are the basic connections made for my setup, which includes the RA8875 driver board, a PIC18F46J11 (3.3V) (44-pin TQFP breakout from Adafruit) and an SD/MMC card breakout from Sparkfun.  Top right is voltage regulation.  9VDC in, 3.3V out on the left and 5V out on the right.  One thing to note here is I had to use a 10K pullup on the MISO of the SD card to get it to work.

ra8875-01
Continue reading Adafruit RA8875 TFT Driver Board